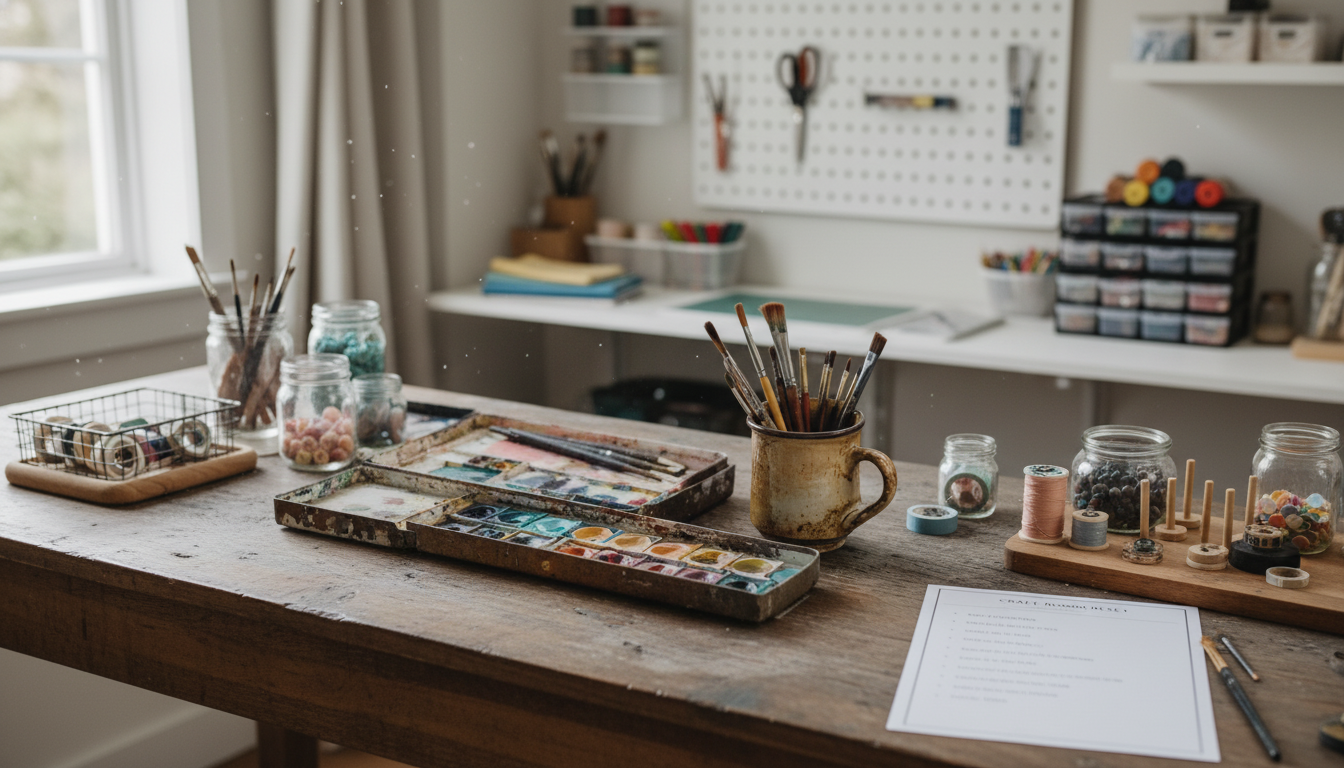
A craft space gets cluttered fast when supplies don’t have clear “homes.” A printable checklist makes the process easier by turning a big mess into a series of small, finishable steps—sort, declutter, contain, label, and maintain—so you can reset your room without losing momentum or motivation.
The fastest way to get stuck is to pull everything out at once. Instead, build a small win first—one zone, one timer, one clear finish line.
| Category | Keep When | Store Like | Label Example |
|---|---|---|---|
| Paper & cardstock | Used in the last season; full sheets not curled or stained | Vertical file bins or paper drawers by size | 8.5×11 Cardstock | Neutrals |
| Scraps | Sorted by usable size; duplicates limited | Clear envelopes or slim bins by color/size | Scraps | 3×3+ | Warm colors |
| Vinyl & HTV | Backed and flat; known brand/type | Upright racks or labeled tubes | HTV | Matte | Black/White |
| Paints & inks | Not dried out; caps clean; colors you actually use | Shallow drawers or tiered risers | Acrylic Paint | Pastels |
| Stamps & dies | Sets complete; stored with matching pieces | Binder sleeves or magnetic sheets | Floral Stamps + Matching Dies |
| Yarn & fabric | No odor/pests; project plans or staple colors | Lidded bins by fiber/weight; fabric folded by type | Yarn | Worsted | Cotton |
| Tools | Works properly; duplicates limited to one backup | Pegboard, drawer inserts, or tool caddies | Cutting Tools | Scissors/Rotary |
| Adhesives | Not expired; caps sealed; no clogs | Small bin in a cool drawer | Adhesives | Tape Runners & Glue |
Decluttering doesn’t have to feel like you’re throwing away potential. The goal is to keep what you’ll realistically use—and release what’s blocking your best work.
When you’re ready to move items out, lean on established guidelines: recycle what you can through local programs and keep donations usable and clean. Helpful starting points include the EPA’s Reduce, Reuse, Recycle resources and Goodwill donation guidelines.
Organizing by “type” can look nice, but organizing by workflow is what keeps you from making a new mess mid-project.
Great containers don’t just “hold stuff”—they make it easier to put things back in seconds.
For a ready-to-use reset you can repeat whenever clutter creeps back, try The Craft Supply Organization Checklist (digital download).
If you like printable systems for other parts of life, A Seasonal Shopper’s Guide to Farmers Markets is another simple way to plan and organize—especially useful if you enjoy checklists and seasonal planning.
Most people can reset one zone in 30–60 minutes, then finish the full room over several short sessions. Labeling and assigning “homes” often takes the longest, but it’s also what makes the system stick.
Use clear containers, divided organizers, or shallow drawers, and label consistently so items are easy to spot and return. Group supplies by workflow (like “assembly” or “cutting”) and keep frequently used items in your prime zone.
Donate usable items, sell higher-value tools you no longer reach for, and recycle paper when possible. Container limits and the “two-project test” help you keep only what supports realistic near-term crafting.


Leave a comment