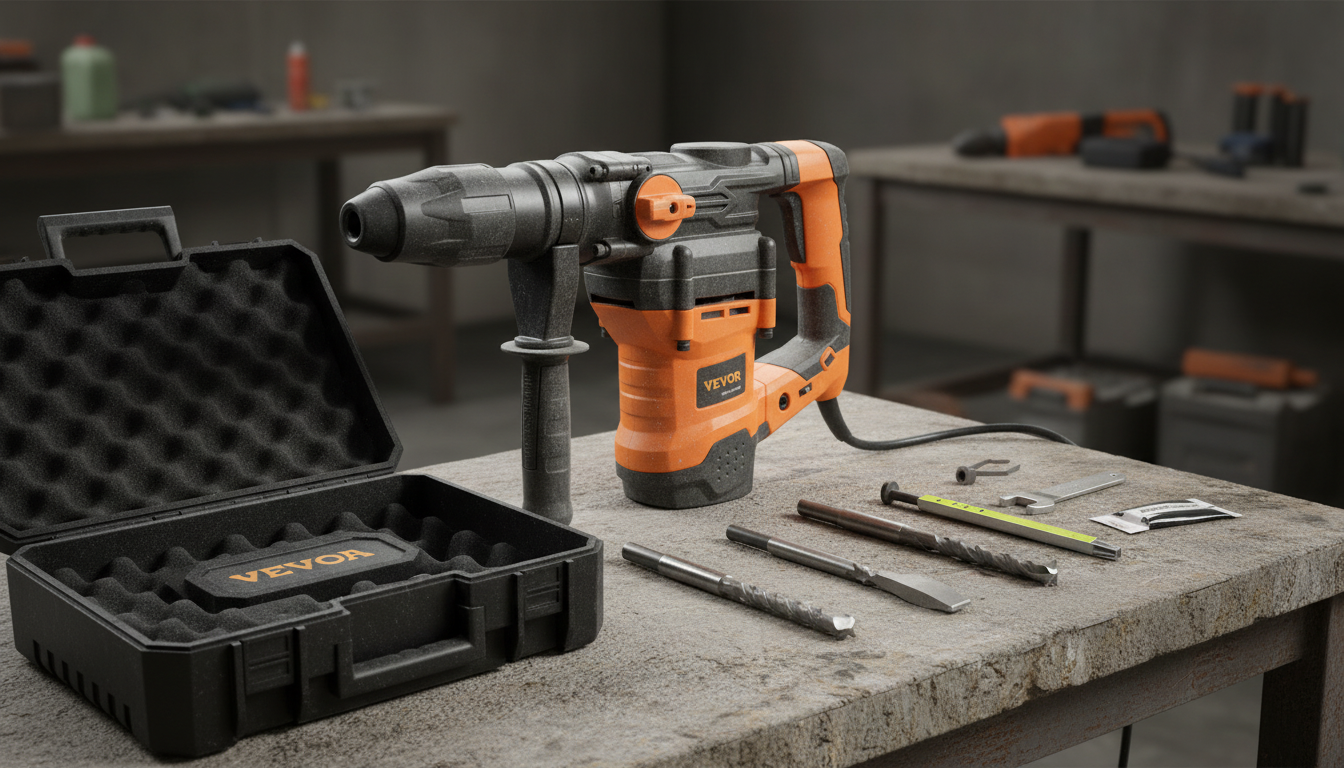
A heavy-duty rotary hammer drill is built for drilling and chiseling in tough masonry where a standard hammer drill struggles. If you’re setting anchors in cured concrete, opening up block for conduit, or removing tile without burning up bits and patience, the right rotary hammer makes the work faster and more predictable. This guide focuses on what matters on real jobs—impact performance, ergonomics, bit systems, safety, dust control, and practical setup—so the tool matches the work instead of fighting it.
Rotary hammers use a piston-style hammering mechanism to deliver strong, consistent impacts while the bit rotates. That combination is why they stay effective in dense concrete, stone, and block where a typical hammer drill may stall, overheat, or struggle to maintain clean hole quality.
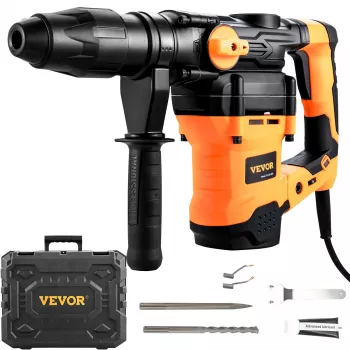
A 1600W-class corded rotary hammer is built for demanding drilling and chipping tasks in masonry. The appeal is simple: steady power for extended work sessions, fewer slowdowns, and enough impact capability to handle common job-site needs like anchor drilling and surface prep.
| Checkpoint | Why it matters | What to confirm before checkout |
|---|---|---|
| Bit system | Determines which bits/chisels fit and how securely they lock | SDS-style compatibility (e.g., SDS-Plus/SDS-Max) and what’s included |
| Operating modes | Lets one tool handle drilling and material removal | Drill / hammer drill / chisel (varies by model) |
| Side handle + depth stop | Improves control, repeatability, and safety | Included and adjustable |
| Case and consumables | Reduces setup time and protects the tool | Carry case, grease, spare brushes (if applicable) |
| Return/warranty terms | Power tools see heavy use; coverage matters | Length and what is covered |
Capacity is about the hole you need, the material you’re drilling, and how long you’ll run the tool—not wattage alone. Larger diameter holes and deeper drilling demand more impact energy, better heat management, and a setup that keeps the bit clearing debris instead of grinding dust.
| Task | Recommended approach | Notes for cleaner results |
|---|---|---|
| Anchor holes in concrete | Hammer drilling with appropriate masonry bit | Mark depth; clear dust periodically for accurate depth |
| Block/brick drilling | Hammer drilling; lighter feed pressure than concrete | Avoid over-driving; reduce spalling by steady pressure |
| Tile removal / light demolition | Chiseling mode with flat chisel | Start at edges; keep chisel angle shallow to avoid gouging |
| Concrete spalling/patch prep | Chiseling with controlled, short passes | Work in sections; don’t pry excessively with the bit |
Spec sheets don’t show how a tool behaves when the bit hits aggregate, the hole gets deep, or your gloves are dusty. These features tend to make the biggest difference day to day:
A hammer drill typically uses a cam-style mechanism to create lighter impacts, which can struggle in dense concrete. A rotary hammer uses a piston mechanism that delivers stronger blows and is better suited for faster concrete drilling and for chiseling tasks when the tool supports it.
Yes—if the tool has a chisel-capable mode and you use compatible chisels. For tile removal, work from edges, keep a shallow chisel angle, and remove material in sections to reduce gouging the substrate.
Use wet methods where appropriate or a HEPA vacuum attachment at the point of drilling, and clean holes as required for the anchor system. Wear a proper respirator and eye protection when drilling in dusty conditions.





Leave a comment