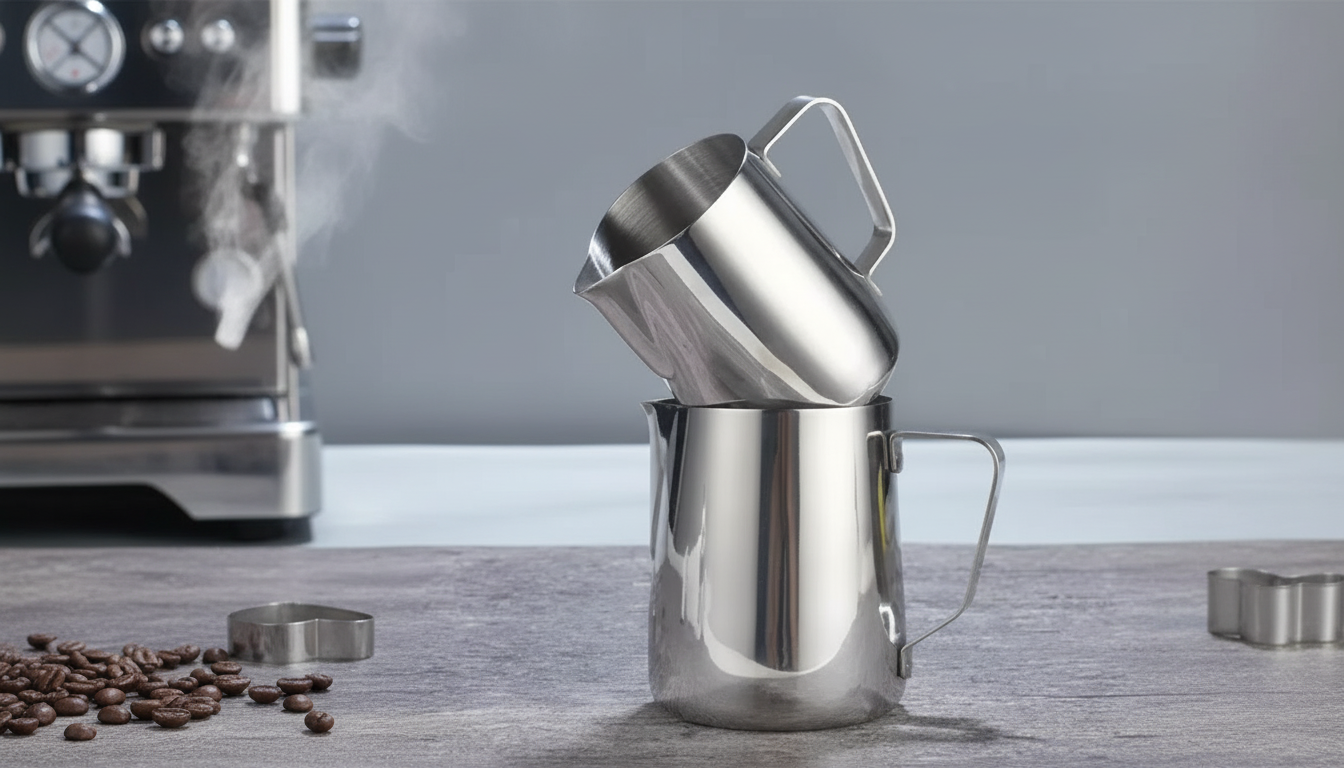
A stainless steel frothing pitcher helps turn steamed milk into smooth microfoam for cappuccinos, lattes, and clean latte art pours. With the right shape, weight, and spout control, it becomes easier to texture milk consistently, reduce bubbles, and guide the flow needed for hearts, tulips, and rosettas. For more guidance, see 304 Steel Latte Cup For Coffee Art, 7.3–10.1 Oz, Professional ….
A good pitcher is more than a container—it’s part of the technique. Its walls, shape, and spout work with the steam wand to help create stable foam and a pourable texture. For further reading, see Milk Frothing Pitcher Stainless Steel Pull Flower Cup ….
Stainless steel has become the standard for home baristas and cafés because it supports both performance and durability in daily use.
For technique standards and broader best practices, the Specialty Coffee Association (SCA) is a helpful reference point for coffee and milk preparation. For food safety and temperature guidance, the FDA Food Code provides context on safe handling in food service environments.
| Drink | Foam texture goal | Typical finishing temperature range |
|---|---|---|
| Latte | Silky microfoam, glossy surface | 55–65°C (130–150°F) |
| Cappuccino | Thicker foam, still integrated | 55–65°C (130–150°F) |
| Flat white | Very fine microfoam, minimal volume | 50–60°C (122–140°F) |
| Hot chocolate milk base | Light foam, avoid scalding | 50–60°C (122–140°F) |
Once microfoam is right, latte art becomes a pouring problem: controlling contrast, flow rate, and line definition. Pitcher design influences how easily that control happens.
Small improvements—like a steadier grip or a cleaner spout—often show up immediately in cleaner edges, better symmetry, and fewer “blown out” white patches on the crema.
Consistent microfoam comes from a predictable routine: fill level, wand placement, brief aeration, then polishing. The pitcher helps lock those steps in.
| Item | Use case | Link |
|---|---|---|
| Stainless Steel Frothing Pitcher for Latte Art and Espresso Milk Frothing | Steaming milk and pouring latte art | View product |
Leave space for milk expansion and for the vortex to form—overfilling makes splashing more likely and reduces texture control. A practical starting point is filling to around the bottom of the spout area, then adjusting up or down based on your cup size and pitcher capacity.
Big bubbles usually come from adding too much air or keeping the steam tip too close to the surface for too long. Aerate briefly at the start, then sink the tip slightly deeper to build a steady whirlpool; finish with a firm swirl (and a light tap if needed) to polish the surface.
A common target is about 55–65°C (130–150°F), which helps preserve sweetness and keeps the foam pourable. Overheating can make the foam dry and stiff, reducing contrast and making lines harder to place cleanly.





Leave a comment